QC Pet Studies graduate Casey Bechard works as a full-time dog groomer and shop manager at Off The Leash Pet Grooming in Regina, Canada. Today, she shares the 6 mistakes every rookie dog groomer makes their first year!
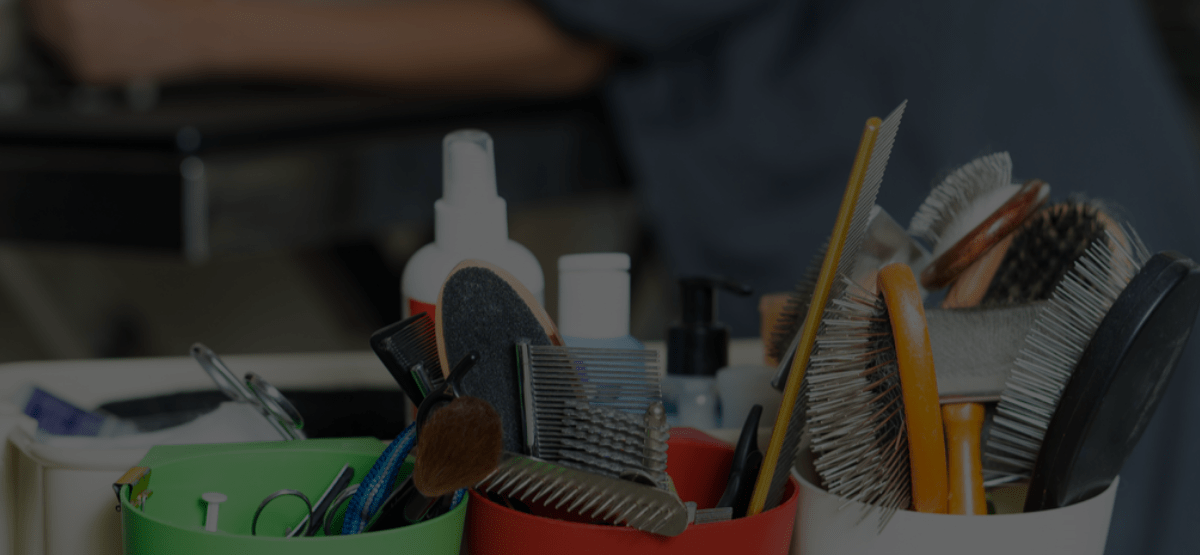
Behind every good dog groomer is a trusty grooming kit. Trust me, your tools can make-or-break your grooms. As you progress through your dog grooming career, you’ll find what tools work and don’t work for you.
Once you know how to use your dog grooming equipment, you must know how to care for them. Taking good care of your professional dog grooming kit is important if you want them to last. This can come down to a number of different measures: cleaning, disinfecting, handling properly, storing, etc… The best place to start is knowing what not to do!
I’m going to share a list of 6 ways people destroy their professional dog grooming equipment, and then give insight on how to care for them. Keep reading!
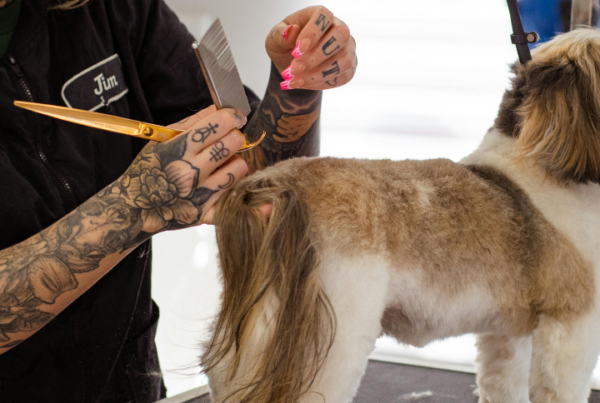
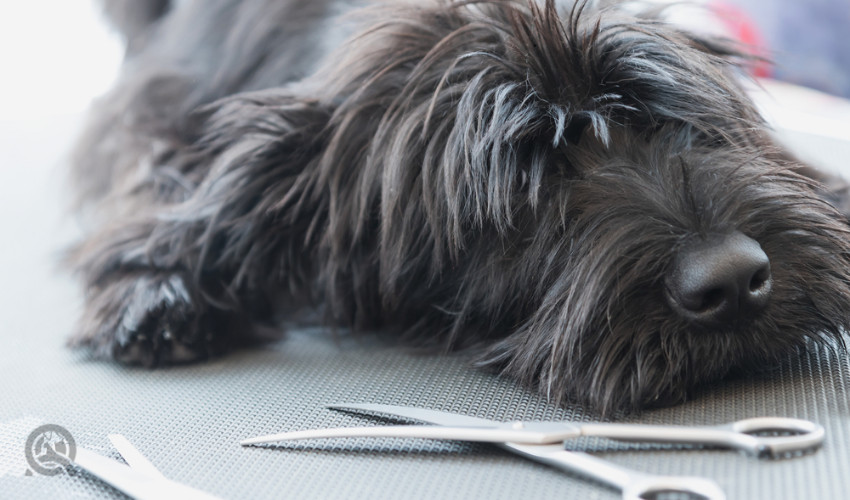
1. Dropping your grooming scissors and clippers
Be careful not to drop your scissors—it can ruin their ability to work properly. Scissors are not cheap, but this happens often and it’s somewhat preventable if you pay attention. The same goes for your clipper and its blades.
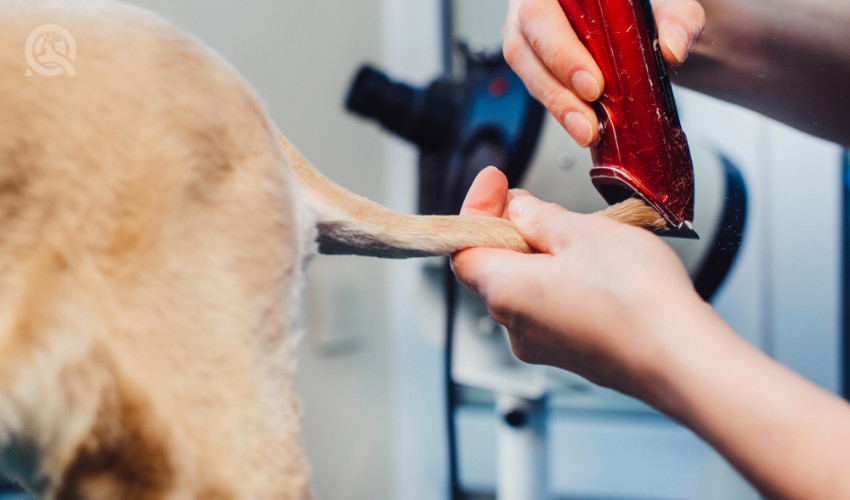
2. Leaving hair in your clipper comb attachments
A lot of hair can get built up behind your clipper blades. The hair needs to be cleaned out often to prevent blockage. While you’re clearing out the hair, take a look at your clipper drive. It needs to be replaced every so often—I usually replace it when I spot any rust.
It’s a great idea to have a couple clipper drives on hand because if you continue to use the same drive, it will start to rust your blade—not good! And the buildup of hair is disgusting….so always keep that in the back of your mind!
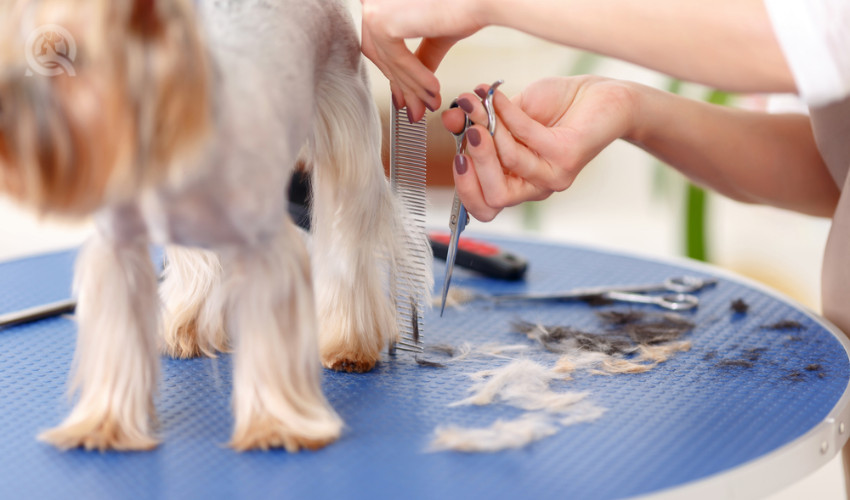
3. Not paying attention to your tools on the grooming table
Be mindful of where you put your tools while grooming so you don’t step on them. You’ll want to keep track of the smaller pieces of your dog grooming kit anyways if your grooming station is large.
Some dogs can be nervous and may move around a lot. An anxious pup may move around and knock around your tools if you’re not careful. Ideally, have a smaller table or tray near you to safely hold your tools during the groom.
4. Not sanitizing your professional dog grooming kit
It’s always a good idea to keep lots of cleaning and disinfecting solution on hand. After every appointment, I spray and wipe down my grooming table with essential oils or bleach. I usually only bleach my table at the end of the day or if I have a break between appointments. This allows the table to dry properly and the smell won’t be overpowering for myself, other groomers, and the dogs.
To clean my scissors, combs, brushes, and sometimes my blades, I use Barbicide. It’s a disinfectant liquid for your tools. If you have a jar of it you can keep your scissors in there and then just spray down your brushes. I even sometimes use Lysol wipes for the handles of the brushes and even my handheld clipper. You never know what can be lingering on them!
5. Not cleaning often
It’s important to clean your tools regularly to prevent diseases form spreading and to extend the life of your tools. The frequency I clean my dog grooming kit depends on how many dogs I groom in a day or week.
If I’m not too busy with grooms for a couple of days, I’ll skip cleaning them until the end of the week when I do my deep clean routine. If I’m busy, I will clean them every other day or so, and give them a deep clean at the end of the week. Even if you notice something getting dirty, don’t be afraid to wipe it down. The cleaner your tools, the better!
6. Storing your dog grooming tools while wet
You always want to make sure your scissors are dry before storing them away. If you don’t, the liquid will sit there and will eventually start to rust the metal. The same goes for your snap-on combs. Those get very dirty fast with skin and fur, so those should be cleaned frequently. I do it at the end of each day. Don’t forget to make sure they’re dry before storing them!
Lastly, you probably don’t realize it, but your grooming table is one of the dirtiest things you will use. The top and bottom of your table should be cleaned daily, even throughout the day. You can use soap and water, bleach, or essential oils—anything that will disinfect.
Hopefully, this helps you maintain the quality of your dog grooming equipment. Getting your first set of tools is very exciting, and if you know how to take care of them, they will last you a long time! Happy grooming!
QC Pet Studies graduates have access to discounts for a variety of dog grooming equipment and tools. Check them out!